Setup
Agentic AI runs inside the Creator and uses the AI agent of your choice as the chat surface. Both ends are configured from the Configuration page.
What you need
The Creator, signed in to your ORamaVR account with a PRO license.
An MCP-capable AI agent running on your machine — Claude Desktop, Codex, GitHub Copilot Chat, Claude Code or any other client that uses the Model Context Protocol (MCP).
Note
We recommend Claude Desktop as the agent client. The Agentic AI workflow is currently tuned and validated against it, so other MCP-capable clients may produce less reliable results.
Install OMEN
Open the Creator Panel through ORamaVR Creator > Panel, and go
to the Creator PRO page:
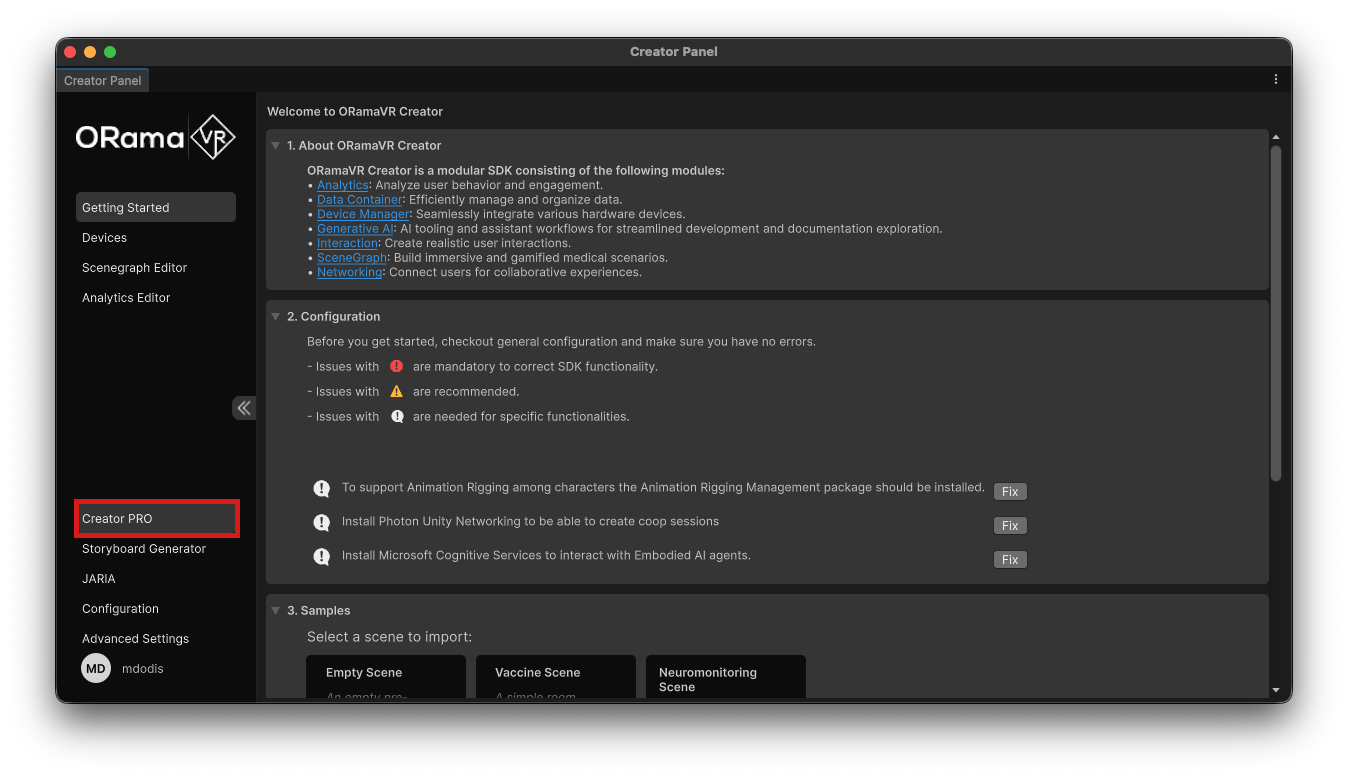
Click Download on the feature you want to add. Creator downloads the feature package, imports it into your project, and marks the card as imported when the process is complete.

If a feature is already installed, the same card shows a Remove button. Use it when you want to remove the feature from the current project.
Pro license required
You must be signed in with an ORamaVR account that has an active Pro license. If your account does not include Creator PRO access, the page shows an upgrade prompt instead of the download cards.
Run the Agentic AI configuration task
In the Creator, open the
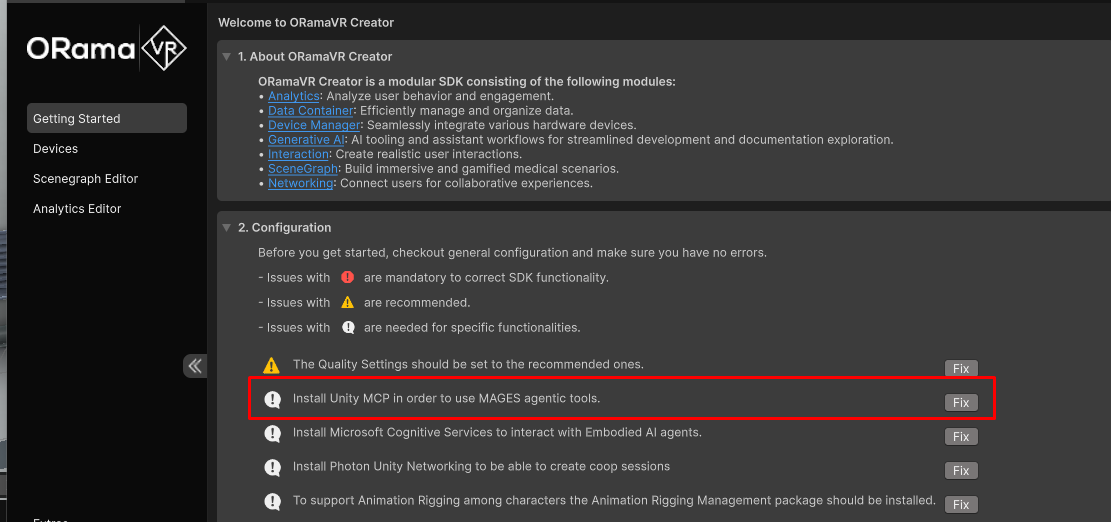
ORamaVR Creator > Paneland go to the Configuration section.Locate the Unity MCP configuration task. If it is listed, one or more prerequisites are missing and need to be resolved. If the task is not shown, your project already meets every requirement and you can move on to the next step.
Click Fix on the task. Creator installs and enables anything that’s missing.
After the task has finished you may be prompted to grant access to Claude Desktop. Click Allow if you want Creator to configure Claude Desktop automatically.

With the configuration task resolved, Agentic AI is ready from the unity side and now we need to setup Claude Desktop.
While having both the Claude Desktop and Unity open, select the Unity project folder from Claude Desktop:
Open Claude Desktop. You can download it from here https://claude.com/download.
Select the Code tab.
Click the folder selector option.

Choose the root folder of your Unity project with Creator. This is the folder that contains
Assets,Packages, andProjectSettings.
Now you are ready to start authoring.

Note
Claude Desktop may need to be restarted after the installation before the Creator tools appear in Claude.
If you’d like to use an MCP-capable client other than Claude Desktop, head over to Change Default Agent to connect it to the Creator MCP server.
Otherwise, jump straight to the Creator OMEN Tutorials & Examples to start authoring.